
Before you start on your polka-dot nails, you need to gather a few supplies. This includes your intended nail polish and the shade you’ll use for the dots. You’ll also want to grab a paper towel, a paper plate, or a silicone mat as well as a top coat to protect your design after it’s finished. Of course, you’ll also want to choose among a bobby pin, a cotton swab, or a toothpick to create your dots.
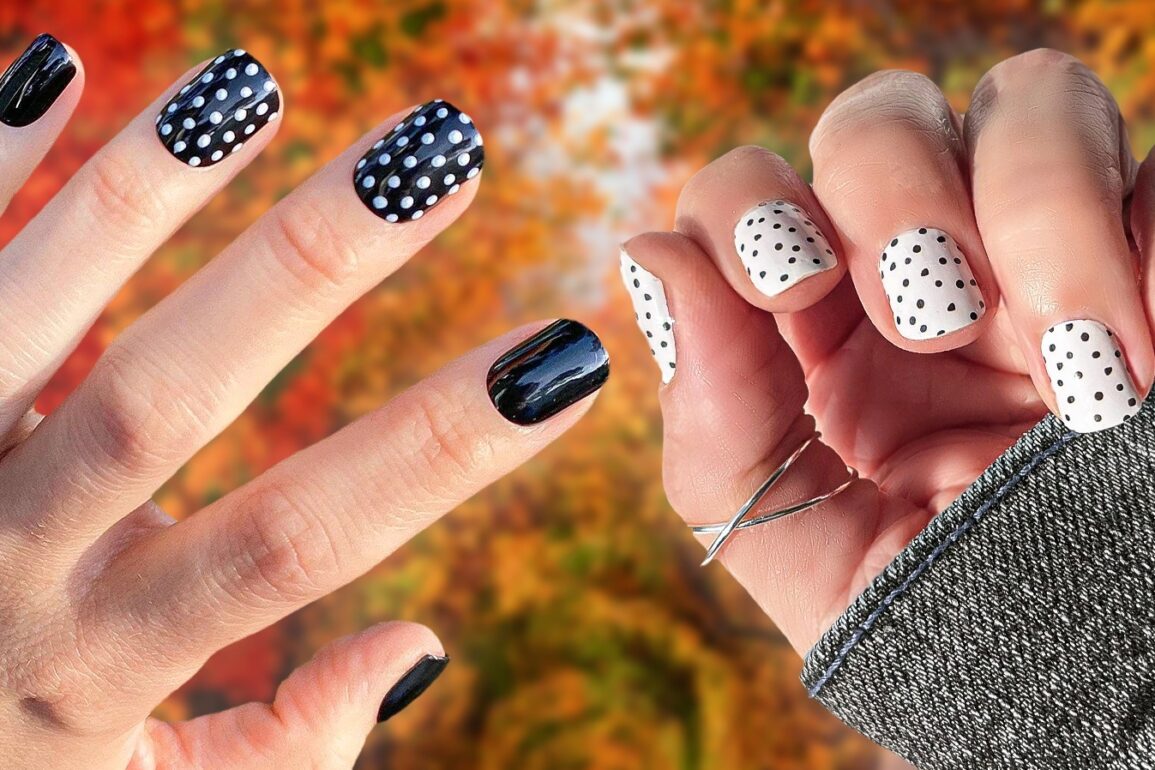
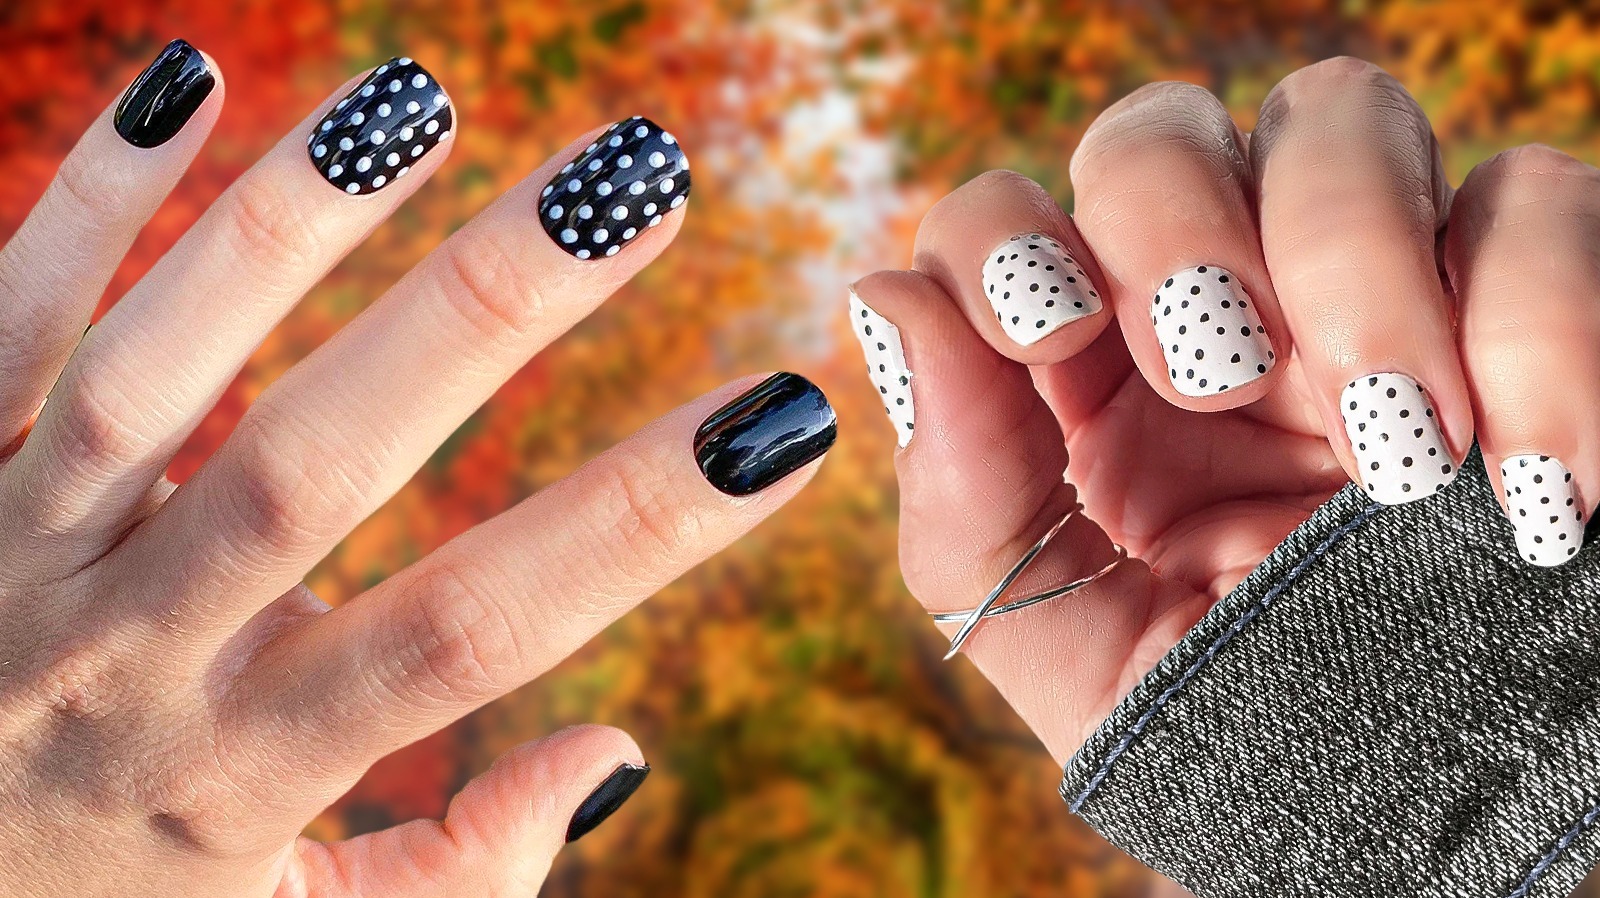
When you have everything ready, begin by covering your nails with the base color, making sure this layer fully dries before you apply the dots. When your nails are ready for the next step, pour a bit of the second shade of polish onto your paper towel, paper plate, or mat. Now, grab whatever tool you’ve chosen and dip the tip into the polish. Use the tool as a stamp to create dots on your nails — as few or as many as you want. Give the dots time to dry before adding the top coat to finish it off.
Is it really that easy to create a polka-dot manicure? Why, yes it is — well, that is, if you don’t make a few mistakes that might result in having to start over. Fortunately, these mistakes are easy to avoid if you know what they are.
This post was originally published on this site be sure to check out more of their content.