Whether you’re a fan of a classic red polish or partial to can’t-miss-me nail art, a manicure allows your nails to be tiny canvases that can express your unique style. A manicure is also a super fun way to celebrate a season, and it’s holiday mani time right now!
For holiday party manicure inspiration, we asked four top Canadian nail artists to share a design that feels festive, along with key steps to help you nail (sorry, not sorry) the look at home.
Get into glitter
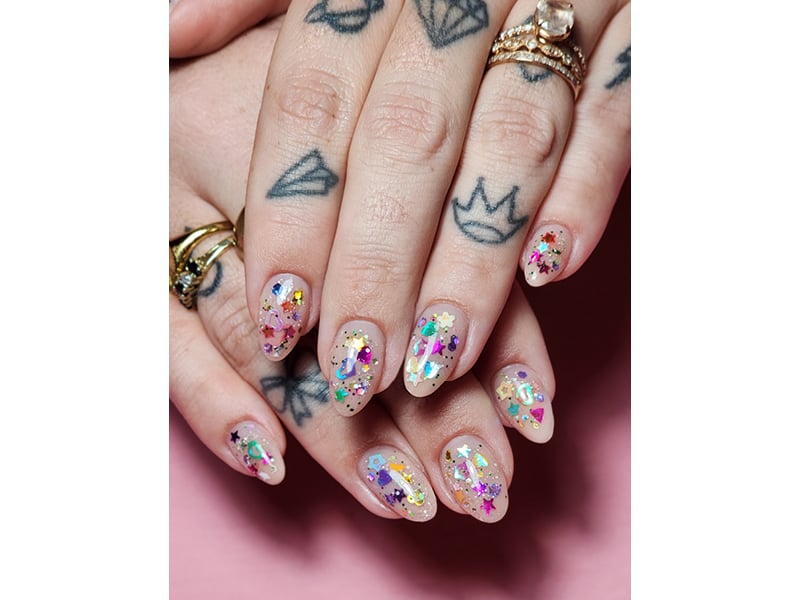
“These nails are like a New Year’s Eve party gone wild!” says Tamara Di Lullo, a CND nail artist and the owner of Candy Nail Bar in Montreal. “I love that the encapsulated glitter is super colourful and goes with everything in your holiday wardrobe.”
The design notes
“My regular client bought a 1-pound bag of mixed glitter on Amazon, threw it on my desk and said, ‘I have a vision!’” says Di Lullo of the inspiration. “Valérie Roberts is known for her amazing style and so she’s rarely wrong! We had so much fun creating this look.”
The how-to
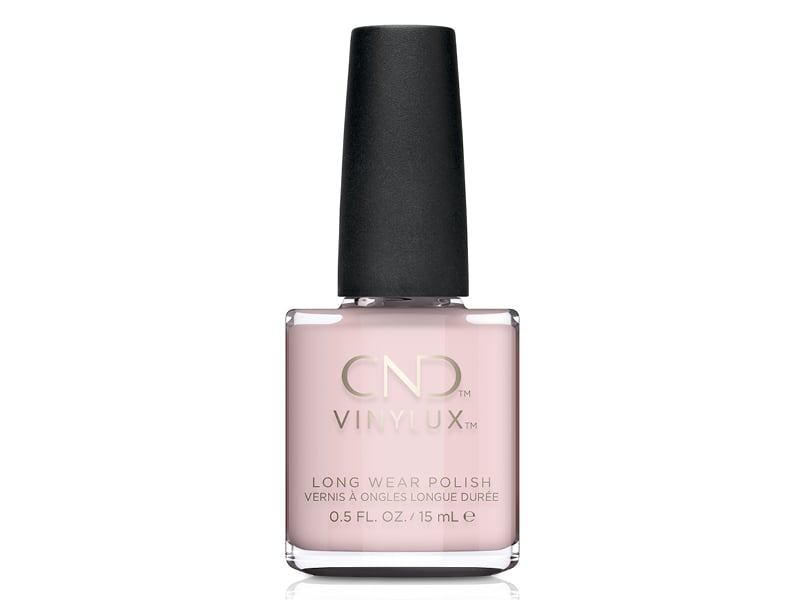
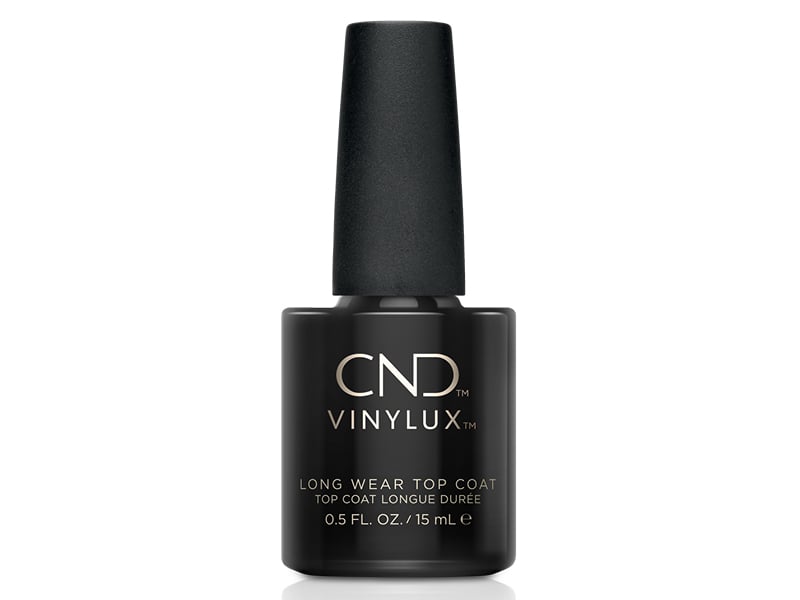
Apply one or two layers of nail polish in a neutral of your choice. “I like to use a nude or semi-opaque nude to unify the nail plate,” Di Lullo says. “When you can see the white from the free edge of the nail through the pieces of glitter it can be a bit distracting.” While the nude polish is still slightly tacky, press in some glitter pieces. “A clean cosmetic sponge could work, helping to put the glitter down with intention,” she says. “With traditional polish I wouldn’t recommend using anything pointy, like an orange wood stick, because it would push through your base layer.” When you glitter is in place, finish with two coats of clear topcoat. Di Lullo favours CND Vinylux Gel-Like Topcoat. “It’s thicker and can mask more imperfections,” she says. Another hack is to create your own glittering polish. “You could always mix some glitter into a half empty bottle of topcoat,” says Di Lullo. “Just choose one that’s colour-safe to avoid staining the polish.”
The neutral base


The glossy topcoat


Re-work Red
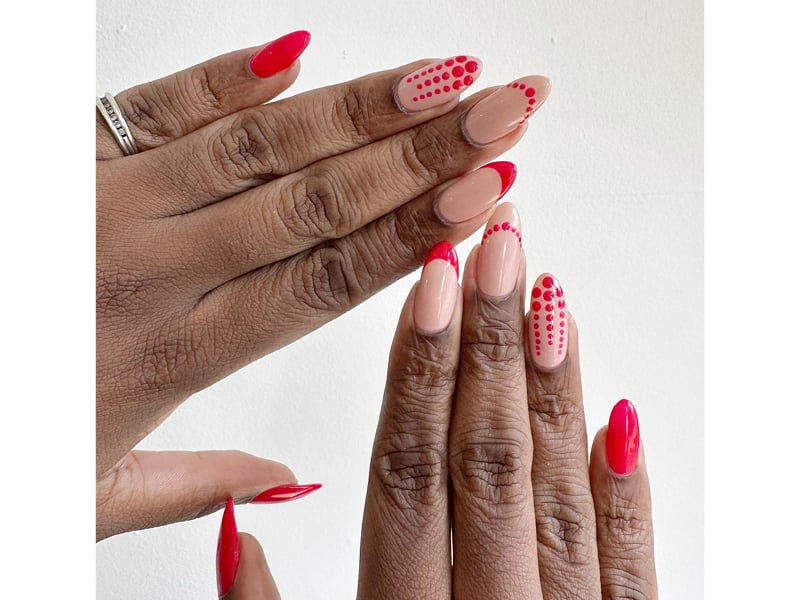
“This is bright, bold and fun. It’s a twist on the typical trends of sparkle and shine for this time of year and doesn’t scream holiday,” says nail artist Nargis Khan of Tips Nail Bar in Toronto. “And the dots remind me of baubles on a tree!”


The design notes
Flex your creative muscle and play with scale to heighten the visual impact of this simple geometric motif. “I used different sized dotting tools because I found a variety of dots to be more eye-catching. The cascade of large to small dots also helps to elongate the nail,” says Khan, noting that dotting tools and brushes are easily ordered online. “You can also use the back and tip of a pen.”
The how-to
Paint two coats of red nail polish on the thumb and pinky nails. “Like red lipstick, red polish can be tricky and may stain cuticles easily,” says Khan, who used Wildfire from CND for this look. “Use a detail brush with 100% acetone nail polish remover to clean edges, if necessary.” Then, apply two coats of your favourite nude or pale pink on the remaining fingernails. Allow to dry for at least five minutes. “This will help make sure your work doesn’t smudge,” says Khan.
On the middle finger, use a larger size dotting tool dipped in red polish to make a big dot in the centre edge of the fingernail. “For perfect placement, imagine where a typical French mani line would sit,” says Khan. “Then use a smaller dotting tool to create the line of dots to both edges of each nail. Work towards a curved shape, following the same imaginary French tip line.”
On the ring fingers, starting at the very edge, use the same larger dotting tool to make three rows of dots with two dots each towards the middle of the nail. To complete the motif on the ring fingers, use the smaller dotting tool to create five dots that run towards the cuticle. “For this part you’ll want to work in a straight line, and you may need less dots if you have a shorter nail length,” says Khan. For the index fingers, use the edge of the brush from your red polish to create a red French tip. Allow all nails to dry for another five minutes, then finish with a coat of topcoat on each.
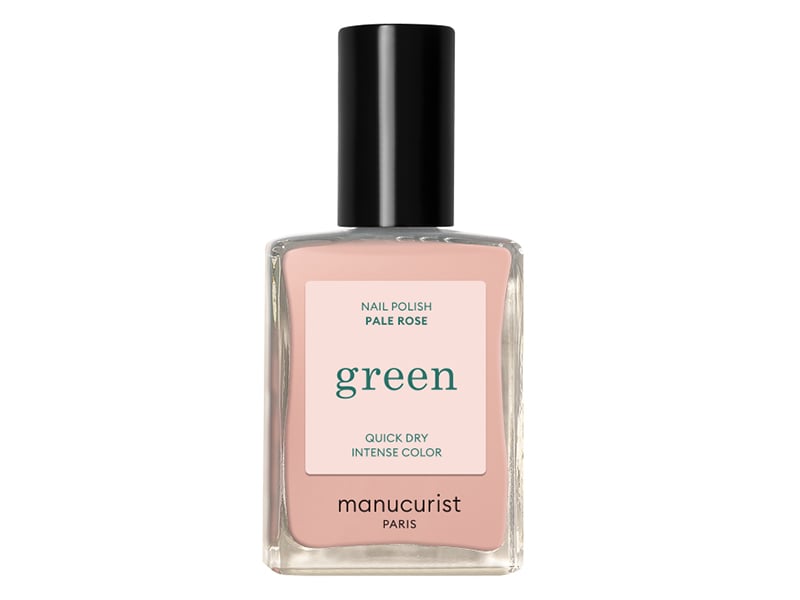
The blush base


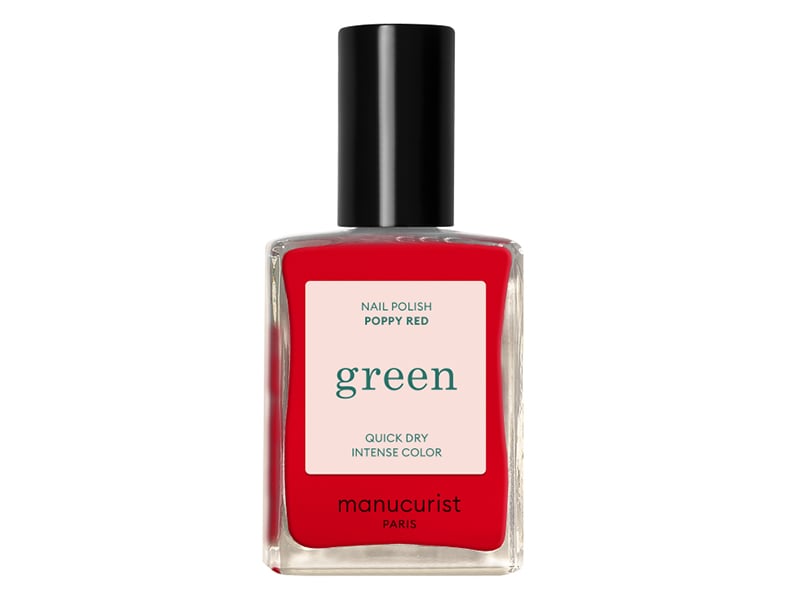
The scarlet polish


Twinkle, twinkle
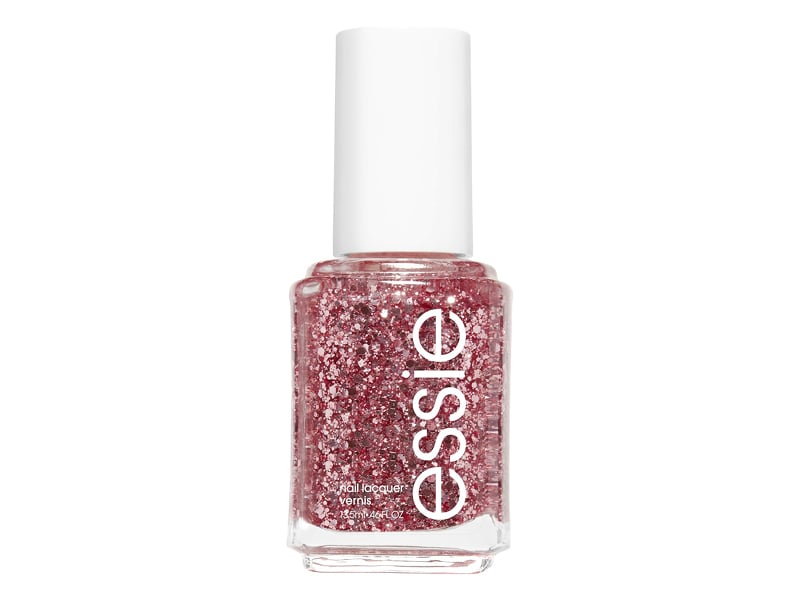
“The holidays are always the best excuse to go high glamour. If you need a reason to try glitter, let December be it,” says Rita Remark, essie Global Manicurist and a Canadian talent now based in NYC. “I always favour looks for the holiday that feel celebratory, but not so obviously festive.”
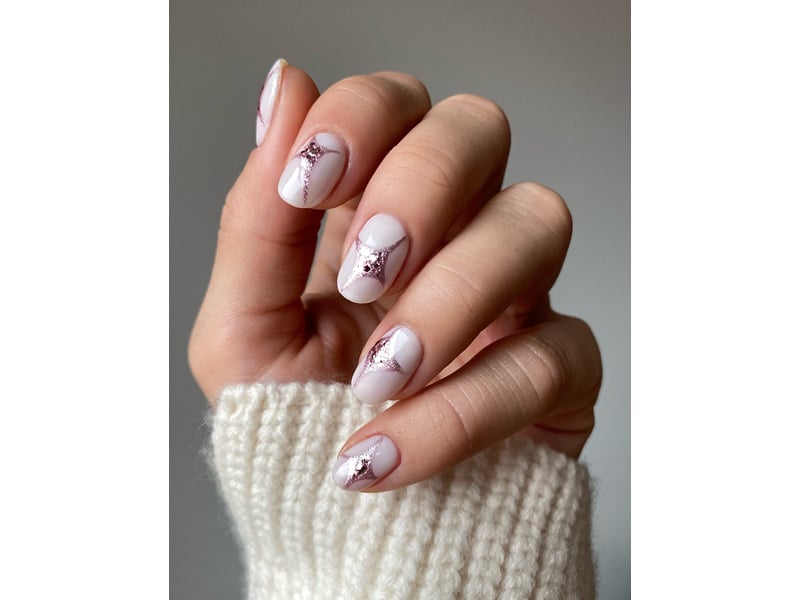


The design notes
“Because I used a milky white base with just a metallic pink accent, this look is super versatile and will take you from Dec 25 to Jan 1,” says Remark. “This is why I love this look—it’s dazzling, not holly jolly.”
The how-to
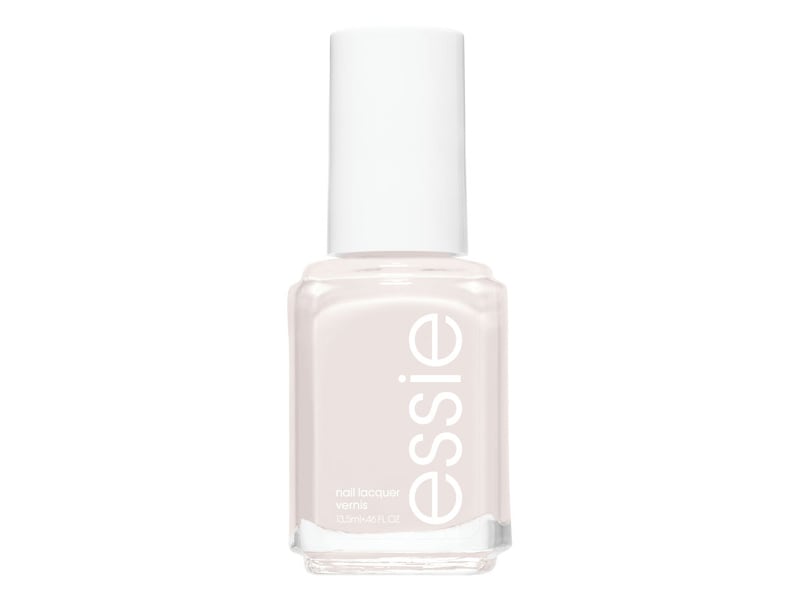
Pale shades need the perfect canvas, so start by applying base coat. “I used essie smooth-e because it’s great at preventing polish streaks when using a cloudy polish,” says Remark. Then, apply two coats of a soft white nail polish; she used essie marshmellow.
Next, using a detail brush dipped into a shimmering pink polish, paint two intersecting lines across each nail. Don’t worry about symmetry. “Let each nail be different,” says Remark. Then, using the same brush and polish, paint a curved line between each point of the cross mark and fill it in to create the “twinkle” shape. Hot tip: “Rinse your brush in 100% acetone nail polish remover as often as possible. This prevents polish from building up on the brush and allows for precision when polishing in detail.”
Next, enhance the sparkle. “With the same brush, dab a few glitter polish bits into the middle of each twinkle, allowing the glitter to extend just slightly into the cross, but staying within the lines,” says Remark. Finish with an extra glossy topcoat, or what the pro calls a high-volume formula, such as essie gel-setter. “High-volume topcoats are fabulous at encasing nail art and creating a glass effect on the finished design.”
The soft white base


The pink glitter


Choose pearls, but make ’em pink
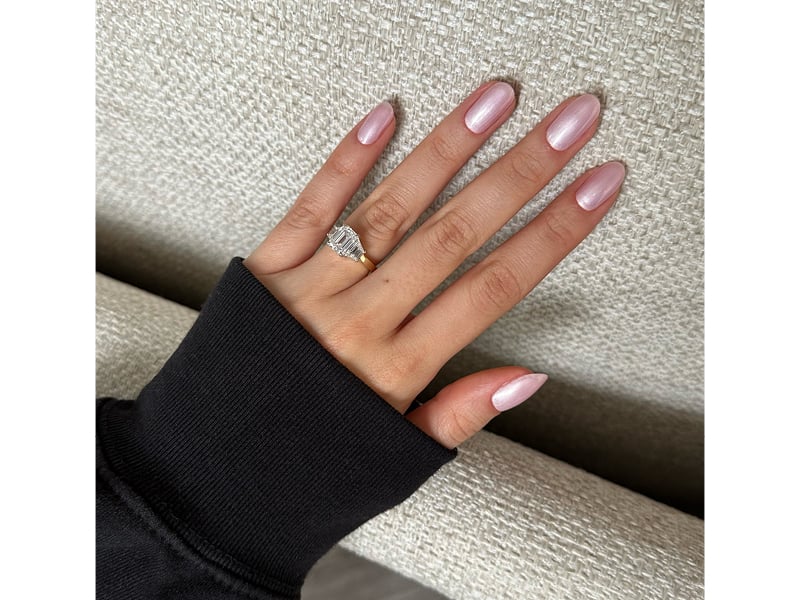
“With the current trend of quiet luxury, a great way to have a holiday manicure without jumping for classic red or green is with a finely milled shimmer,” says Sarah Alaina, a freelance nail artist who works in editorial and commercial medi, and makes private house calls for clients in Toronto. “I love a polish that is pearlescent and gives off shine, without being a defined chunky glitter.”


The design notes
“On the Chanel fall-winter 2023 runway I saw a lot of pink, and spotted a velvet skirt that embodies the texture of this manicure,” Alaina says. “A pink shimmer looks soft on the nails, it enhances them since the natural colour of your nail bed is pink. In all different lighting, your nails will appear to be glowing!”
The how-to
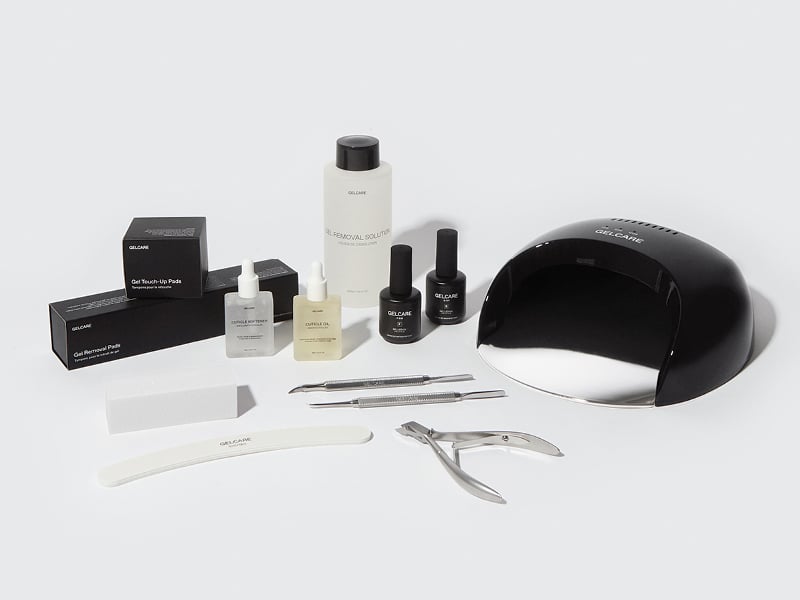
To achieve this mani at home, Alaina recommends the Gelcare Starter Kit which includes a LED nail lamp, gel removal pads, tools and cuticle care. “It has everything you need to start doing your own nails, from the nail prep and filing to cuticle cleaning and polish application,” she says. Start by pushing your cuticles back. “It helps reveal the whole nail bed.” Then you’re ready for shaping nails. A clean nail plate is also key before moving on to polish, and the kit comes with lint-free pads to get the job done. After applying and curing base coat, it’s time to shine.
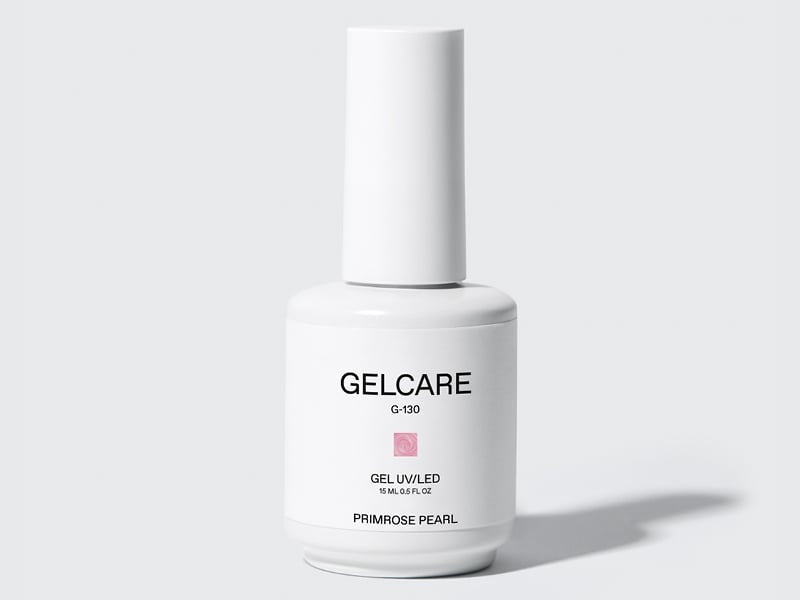
“I opted for three very thin coats of shimmer. Thin coats are always important when applying your polish because it will give you the most seamless results without looking thick and lumpy. As well, thin coats will allow for each coat to be cured thoroughly, to ensure a long-lasting manicure,” Alaina says. “Specifically when using this Primrose Pearl shade, one coat would appear sheer and not as obvious. Whereas three coats will have more opacity, and the pink hue and pearlescent finish will be more visible.” Finish with a layer of topcoat, and once it’s set massage a drop of cuticle oil around each nail bed. “Your nails are made up of keratin like your hair, so a cuticle oil is like the conditioner,” she says, “It’s so important for your nail health, as well as for maintaining a manicure that lasts.”
The pearly pink


The at-home gel mani kit


This article contains affiliate links, which means The Kit may earn a small commission if a reader clicks through and makes a purchase. All our journalism is independent and is in no way influenced by advertising. By clicking on an affiliate link, you accept that third-party cookies will be set. More information.
More Holiday
This post was originally published on this site be sure to check out more of their content.

