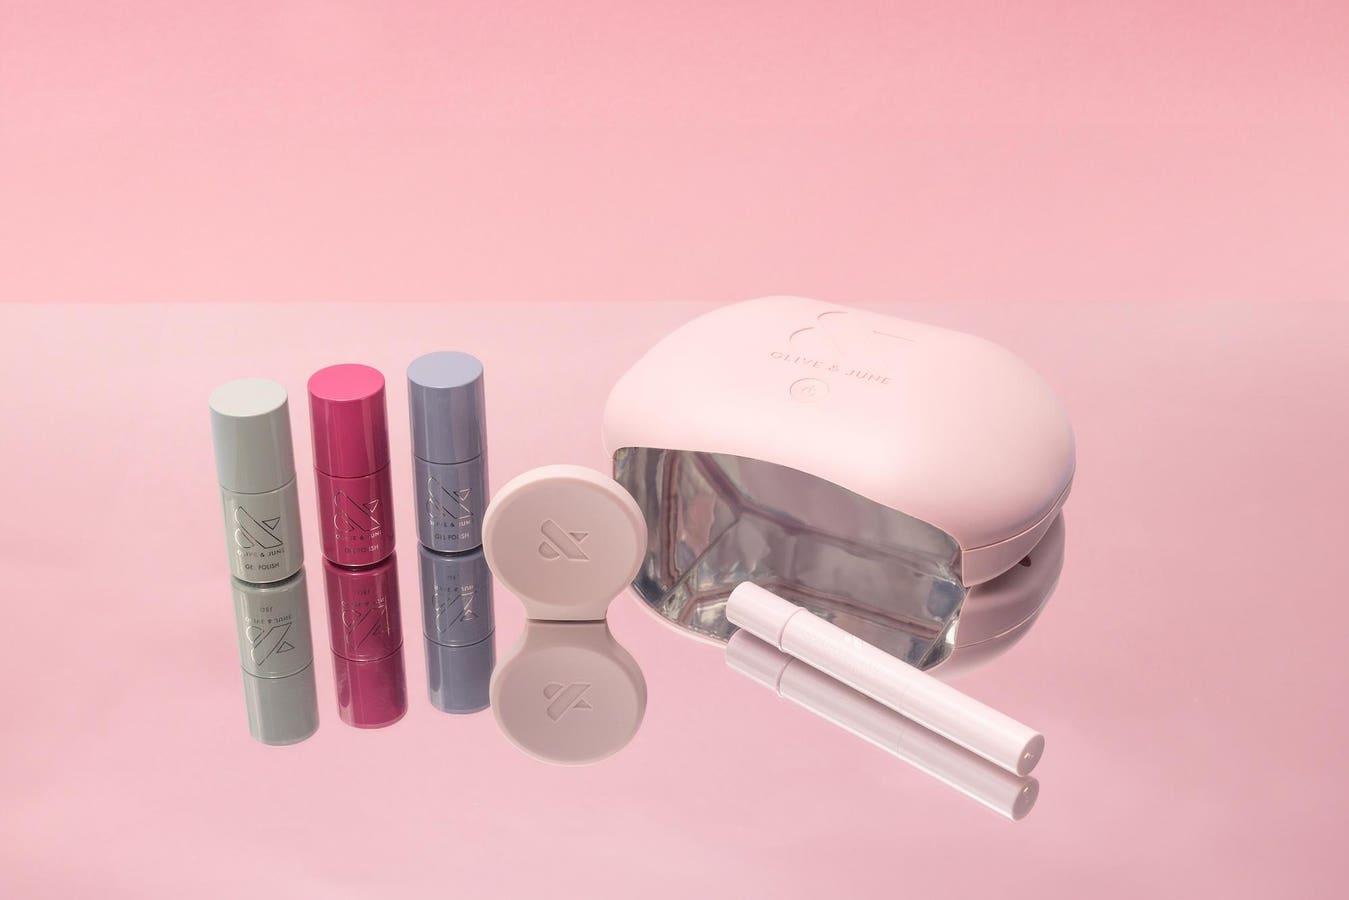
Anyone who has ever gotten a gel manicure will tell you that the polishing part is easy—it’s the gel removal that poses a problem. Pick it off yourself and you’re sure to damage your nails. But a DIY removal the right way can be tough, particularly for finding the best tools and nail polish remover that easily gets it off. Not to mention, it can be super time consuming. Olive & June thought of all the pain points with their new at-home Gel Mani System, which includes a removal kit.
“Our mission is beautiful nails for everyone,” says Sarah Gibson Tuttle, Founder of Olive & June. “Gel has always been in the back of our mind as a category we have to tackle. We have a deep salon heritage and roughly half of our customers are gel customers. It’s very much in our lineage that at some point this would be something we innovate on.”
Olive & June started by examining the drawbacks of at-home gel kits that already existed in the market. “We always go to where is the consumer struggling, and how can we help?” Tuttle says. “How can we innovate to solve for that? The first was definitely damage and removal. We realized that people had done so much damage to their nails, and we saw this in the salon. People would come in and they’d ripped off their gels, and it just ruins your nails, and then your future manicures don’t stick. The removal was a big, big, big piece of it, so that we could limit the amount of damage.”
Olive & June gel polishes come in 28 of their best-selling shades
Olive & June
Having healthy nails allows your manicures to last the longest—whether you’re using regular polish, gel or even press-ons—because the healthiest nails provide the best adhesion. The Gel Mani System was designed so that people wouldn’t have to go to the salon for removal and could easily do it themselves without harming their nails. “It’s even easier than our press-ons, because the acetone has to go through the press-on, and so it takes a little longer than this because the acetone is only going through the gel,” Tuttle says. “Within 10 minutes, the gel is peeling off the nails. It is incredible.”
The second pain point was gel manicures that don’t last as long as customers would like. “We’re always looking at efficacy,” Tuttle says. “How do we make this last manicure last as long as possible? Our brand promise is that you don’t have to change your nails until you are sick of the color. I don’t want it chipping. I don’t want it popping off. I want you to be so annoyed that this is lasting so long that that is why you’re changing your manicure.” Olive & June’s gel polishes last up to 21 days, which is nearly twice as long as their competitors.
The Olive & June Gel Mani System
Olive & June
Another way Olive & June innovated the at-home gel manicure is by offering two base coats. The first is a classic gel base coat that has to be cured and requires the typical removal process. The second option is a peel-off base coat that doesn’t have to be cured, lasts up to 10 days, and people can simply peel it off to remove it.
Olive & June also wanted to make the Gel Mani System as affordable as possible, especially in light of a recent article on a rainbow gel manicure costing $255. “As per usual, we’re very accessible,” Tuttle says. “Our gel manicure system breaks down to about $1.92 a manicure.”
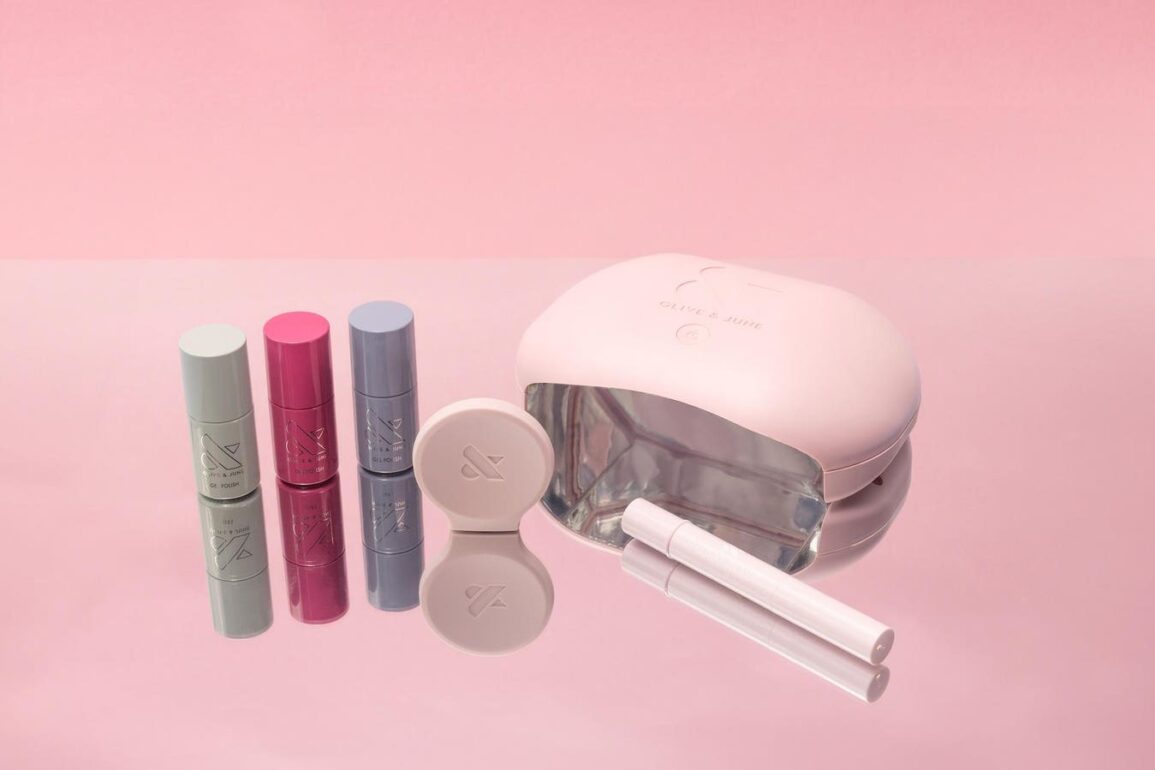
Like the Olive & June Mani System and Pedi System, the custom designed Gel System includes all the tools you need for the perfect at-home gel mani, including the first-of-its-kind peel off base coat, custom five-finger LED lamp, non-damaging removal system and more. The Gel System is launching with a whopping 28 nail polish colors, which are the brand’s best-selling shades. “We have made all the bottles so that they match the colors inside, so you’re able to understand what color you’re getting,” Tuttle says.
The complete Olive & June Gel Mani System
Olive & June
Another differentiator is the pink curing lamp. “I’m excited that it’s a five-finger lamp, so you put your full hand underneath,” Tuttle says. “A lot of the at-home systems, if not all, have either one-finger lamps or three- or four-finger lamps. That just blows my mind. In order to replicate this experience at home, you truly need to have a five-finger lamp. It speeds it up so much. It’s also a salon quality level, professional-grade lamp. To me, that was a very big point of difference that we had to solve.” Though the Olive & June Gel Mani System can work with and remove any soft gel polish, it’s best to use the entire system for the best performance because the polishes are formulated to work with their lamp.
“One of the challenges as we were developing both [the polish and lamp] in conjunction is that they needed to work together,” says Anne Reigle, Olive & June’s VP of Product Development. “Every time one thing changed, we needed to adjust the other. Our polish formula includes a proprietary blend of adhesion promoters, basically the things that make your polish last the longest, that react to specific wavelengths of light, and then our lamp, in conjunction, emits those two wavelengths to cure the polish thoroughly and quickly. We have 17 LED bulbs, so the distribution of the bulbs was really important to make sure you’re getting that thorough cure. There are bulbs on the top and along every side, so the light is hitting all of your nails for that perfectly thorough cure. We did a ton of research working with chemists and electrical engineers on this development because safety was really important for us. Along those lines, our formula is also HEMA-free.”
The Olive & June Salon-Speed Soak-Off Non-Damaging, Reusable Removal System
Olive & June
HEMA is hydroxyethyl methacrylate, an adhesion promoter commonly used in gel polishes because it works well to help them last a long time. But it’s also a widely known allergen. Reigle explains that it’s a tiny molecule, so it can soak into your skin easily and cause allergic reactions, and then those reactions can be triggered by other things. “We did a lot of work and a lot of different iterations of testing to find that proprietary blend of adhesion promoters that was going to work better than HEMA,” she adds.
In order to make the formula as clean as possible, the Olive & June team pushed their manufacturing and supply chain to come up with new, creative solutions, which is what makes the system innovative. They also wanted to make at-home gel manis fun, which is why their nail art stickers can be used with the system. For best results, sandwich them by doing a topcoat and cure, add a sticker, then add a final topcoat and cure again. The Olive & June Penny Nail Art Tool can also be used to create fun designs, including ombré, dots, French manis and much more.
The Olive & June 5-Finger LED Gel Lamp
Olive & June
To nail the perfect at-home gel mani, Celebrity Manicurist & Educator Julie Kandalec say it’s best to do three thin coats instead of two thicker coats. “It just cures better, especially darker colors,” she says. “It’ll be much more even. Prepping the nail is the most important thing. Push cuticles back and file the free edge, then buff the surface of the nail with the buffer to smooth it out.” To apply polish, she applies a thin coat of polish down the center of the nail, followed by the right and left sides, then the free edge (the tip of the nail) and then one quick coat to smooth it out. The lamp has a sticker that explains a quick press is one minute long and a long press is two minutes of curing; use one minute for the base coat and color, and two minutes for the topcoat.
“We’ve always been committed to making the best formulations in market, and been thoughtful about how do you make something last longer,” Tuttle says. “How do you make it easier to do at home? We dedicate ourselves to making products that make it truly possible to get a salon-quality manicure or pedicure at home at an affordable price. This took three years to figure out, from concept to launch, but we knew that gel is such a beloved product that if we weren’t going to bring a big point of difference to it, then it didn’t make sense to launch. We pride ourselves on waiting until the innovation is perfect.”
This post was originally published on this site be sure to check out more of their content.


