This summer, brighten up your clients’ day with these fun nail designs from Bellacures.

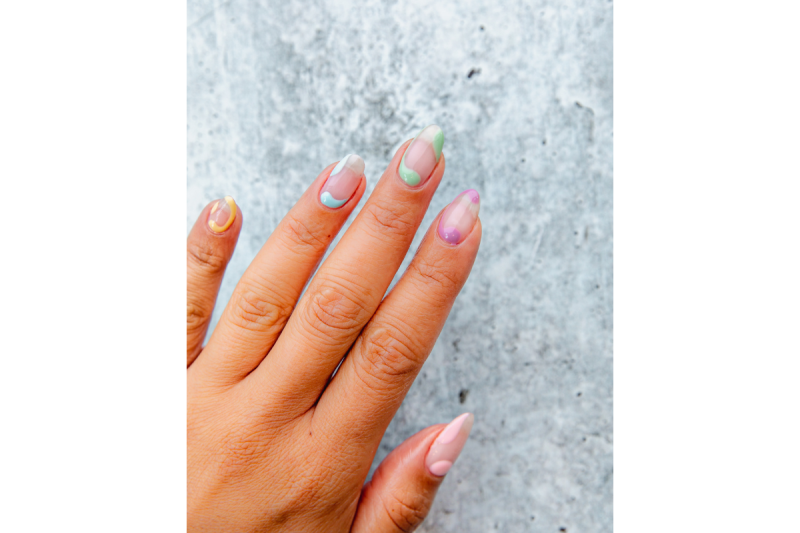
1. Prep and Shape: Start by completing your cuticle care and shaping your nails. Opt for an almond shape for the best results.
2. Base Coat: Apply a sheer nude shade as your base color. One coat should suffice, allowing your natural nail to peek through slightly. If you prefer more coverage, apply two coats.
3. Colorful Tips: Once your base coat is dry, it’s time to add some color! Choose a variety of polish colors and apply a different color to each nail. Use a small, thin brush to carefully outline the tips and base of your nails, leaving the middle space empty.
4. Precision Application: Use slow and steady strokes to ensure precise application of the colorful tips. Aim for a bubbly, swooping design to achieve a cute and playful look.
5. Second Coat: After outlining the tips and base, go back in with a second coat of polish to ensure vibrant color payoff. Be sure to cover the edges of your nails to reduce the likelihood of premature chipping.
6. Finishing Touches: Complete the look by applying a quick-dry topcoat for maximum shine and longevity. Don’t forget to apply cuticle oil to nourish and hydrate your cuticles.

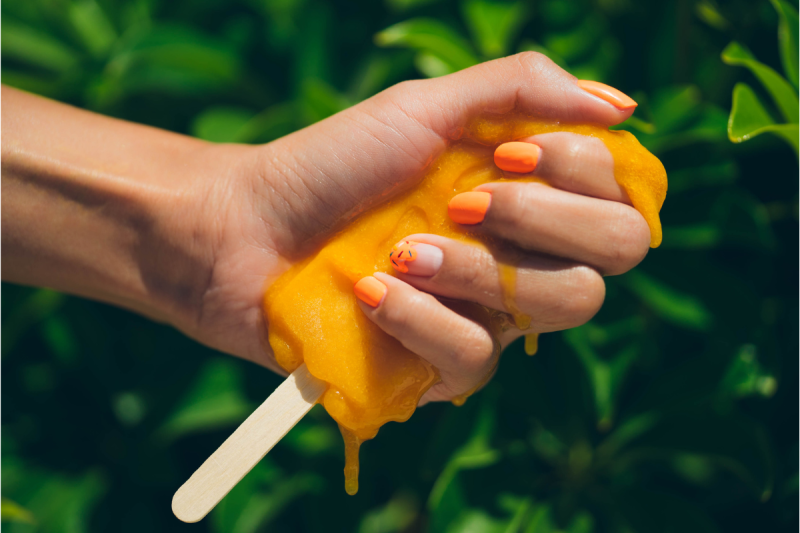
1. Prep and Shape: Start by completing your cuticle care and shaping your nails into a “squoval” shape for the best results.
2. Base Coat: Apply a bright orange shade to all your nails, except for your ring finger. For the ring finger, apply two coats of a nude shade as the base for the design. Allow each coat to dry fully to ensure brightness and vibrancy.
3. Design: Once your base coat is dry, it’s time to add the ice cream-inspired design. Using the orange polish, create drips along the tips of your nails to mimic melting ice cream. These drips should be irregular and slightly curved.
4. Sprinkles: After creating the drips, add colorful nail polish or nail art sprinkles on top to represent the vibrant sprinkles often found on popsicles.
5. Finishing Touches: Complete the look by applying a topcoat for maximum shine and longevity. Don’t forget to apply cuticle oil to nourish and hydrate your cuticles, leaving your nails looking and feeling their best.

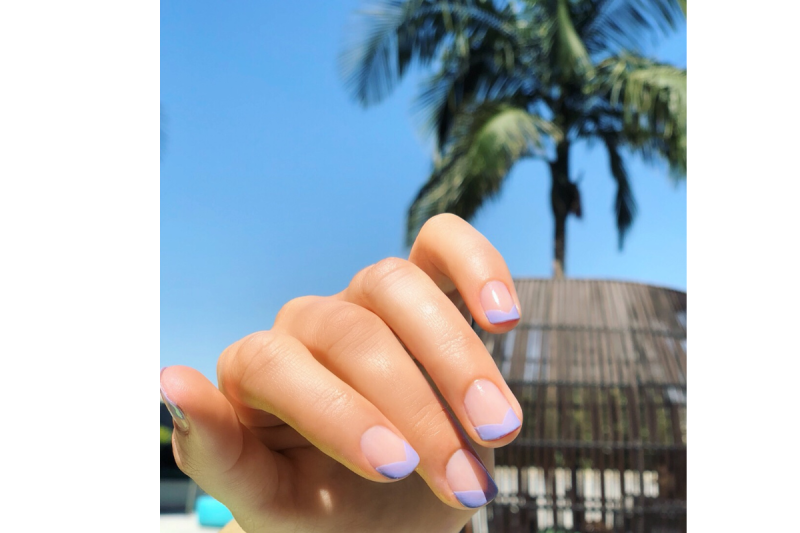
1. Prep and Shape: Begin by giving your nails the attention they deserve. Complete your cuticle care and shape your nails into a square or “squoval” shape for optimal results.
2. Base Coat: Apply two coats of a nude shade that closely matches your skin tone as your base color. This will provide a subtle backdrop for the vibrant triangular tips.
3. Triangle French Tips: Once your base coat is dry, it’s time to add the focal point of this manicure – the triangular French tips. Using a small thin brush and your chosen polish color, carefully outline the very tips of your nails in a triangular shape. Take your time with slow and steady strokes to ensure precision and accuracy.
4. Second Coat: After outlining the tips, go back in with a second coat of polish to ensure that the color is bright and bold. Don’t forget to cover the edges of your nails to prevent premature chipping and maintain a polished look.
5. Finishing Touches: Complete your manicure by applying a quick-dry topcoat for maximum shine and longevity. Don’t neglect your cuticles – a nourishing application of cuticle oil will leave your nails looking and feeling their best.
This post was originally published on this site be sure to check out more of their content.


