It feels like every week there’s a new nail art innovation that’s captivating us all on social media. And that wouldn’t be entirely false. Innovation in the nail industry is fast-moving and exciting. There are constantly, new nail trends, techniques and products coming out; with streams of inspiration on TikTok and Instagram. One of those fun products is blooming gel. Although blooming gel isn’t new, it’s a nail art technique that’s getting a lot of attention on social right now.
Here’s everything you need to know about the product and technique from a nail tech.
What is blooming gel?
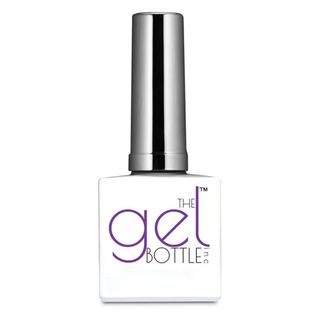
Blooming gel is a type of soft, clear gel that, as the name suggests, creates a ‘blooming’ effect. “It’s a product that allows you to create unique designs by dispersing gel polish onto the base,” explains nail artist Kari Roberts. It’s a technique that without blooming gel is pretty tricky (and lengthy) to achieve so many nail artists and enthusiasts are huge fans—including me.
It’s designed to spread out quicker than other polish and create an almost marble effect. Nail artists are incredibly creative with the polish and use it to produce various designs. “Popular designs that can be created with blooming gel are crocodile or snake print nails and more recently, bloomed florals seem to be taking the nail industry by storm,” says Roberts.
What is the blooming gel process?
Interested to know the process of using blooming gel? Here’s how Roberts uses it to create beautiful designs for her clients.
Step 1: Paint the base colour and cure for the correct amount of time using a nail lamp.
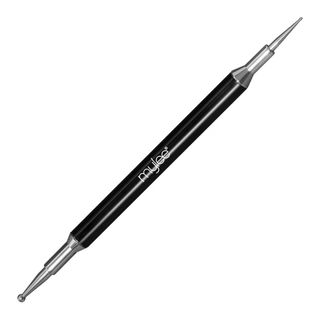
Step 2: Paint a thin layer of blooming gel on top of the nail and then paint your chosen design. This could be as simple as using a dotting tool to drop colour into the blooming gel or drawing lines through the gel. You might be surprised how such a seemingly simple design can transform.
Step 3: Once the design is where you want it, you cure it again for the correct amount of time. The longer you leave the nail uncured to more it will bloom.
Step 4: The final step is applying a super shiny top coat and curing. The result is a stunning blooming gel effect design.
Blooming gel uses a gel product so I don’t recommend that you try it at home unless you’re trained. This is because incorrectly applied gel nails at home can cause things like increased allergies and a condition called onycholysis, which is when the nail separates from the nail bed. If you want the best result, always see a professional.
Blooming gel nail art inspiration
1. Festive rainbow croc
2. Marble flowers
3. Ombre daisy
4. Indigo tie dye
5. Rainbow scales
6. Tortoiseshell tips
7. Butterfly effect
8. Neon jungle
9. Autumnal croc
This post was originally published on this site be sure to check out more of their content.

