


Originally published on Sept. 1, 2017
Your Everyday Makeup Questions, Answered
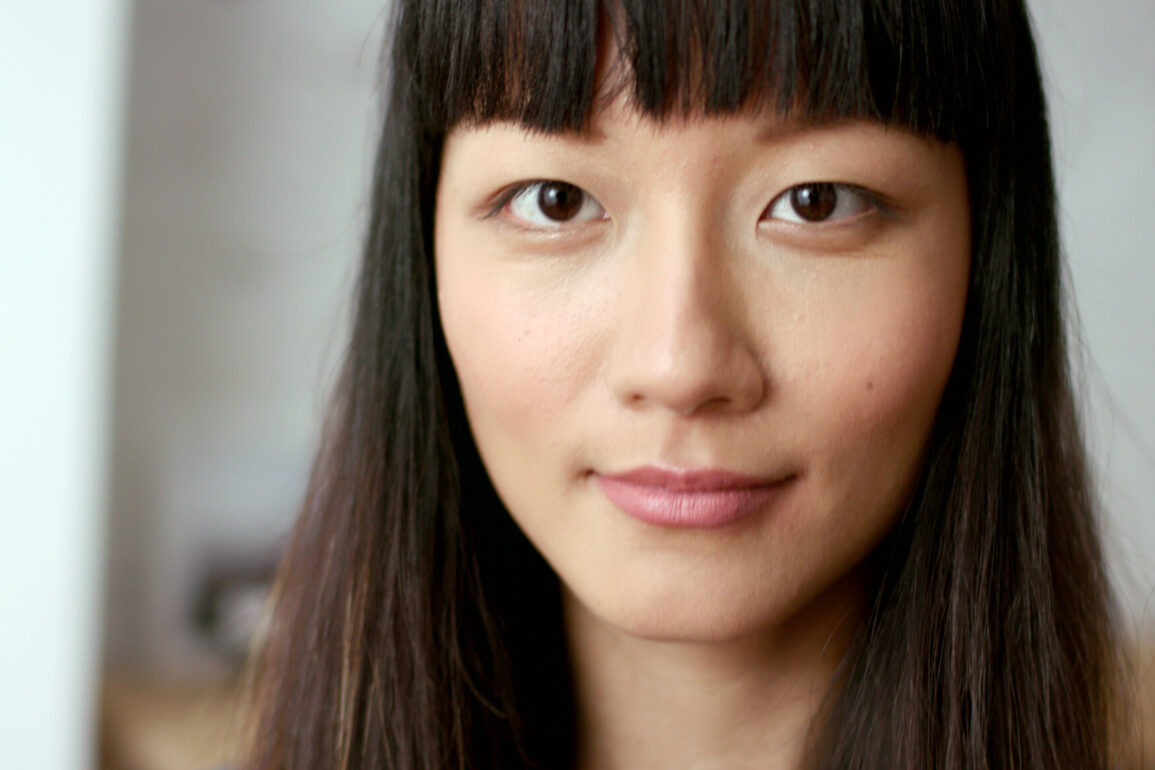
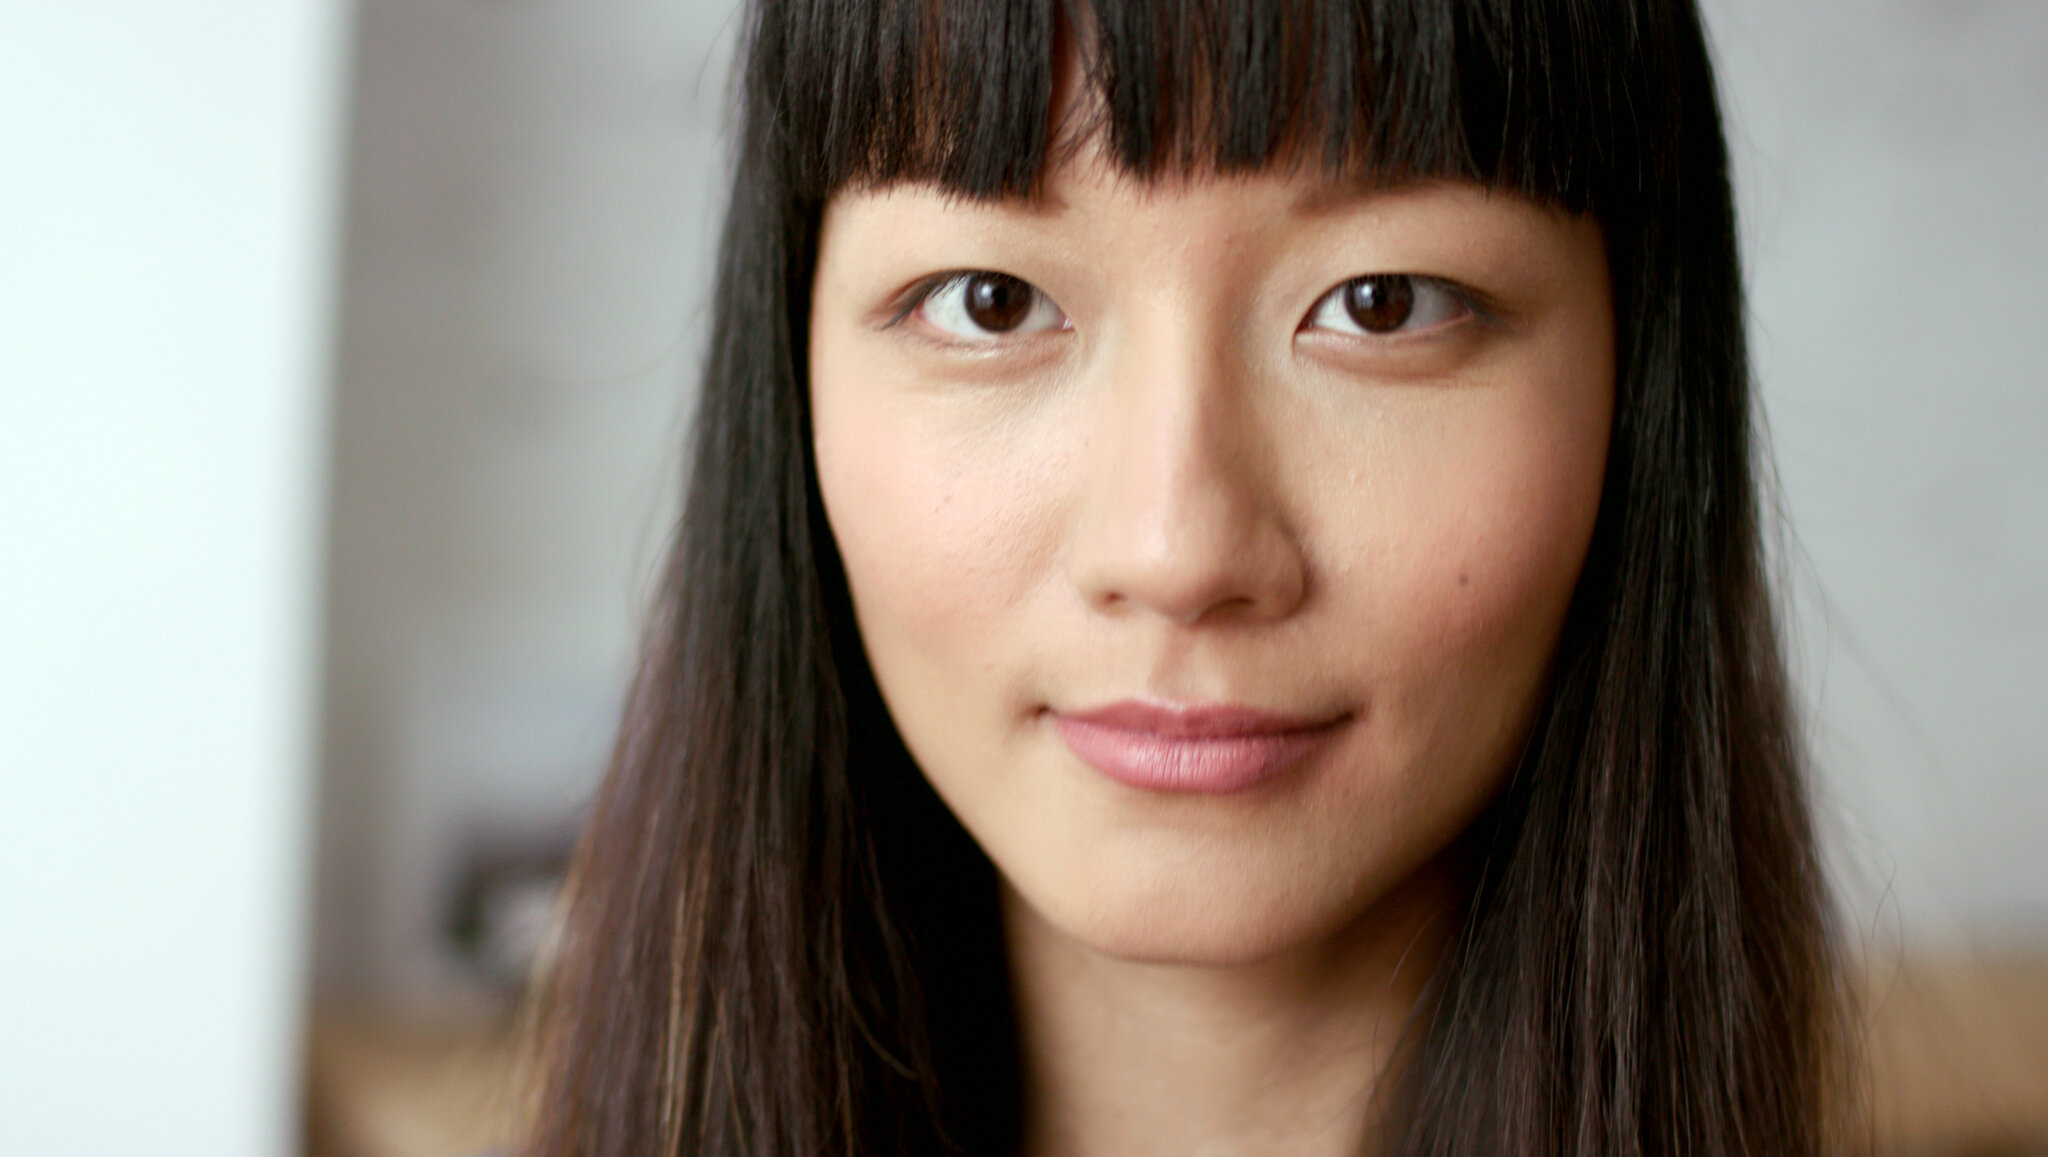
A big night out may be a good excuse for a fun new makeup look, but most of us need our makeup to work Monday through Friday, and we count on a few reliable products to get the job done. Unless you’re ready to risk a faux pas — your smoky eye gone singed, let’s say — the workweek isn’t the best time to go experimental. Instead, we offer advice from experts on the best ways to apply your daily makeup and, along the way, clear up a few confounding makeup questions.
Foundation
Conceal blemishes, smooth your complexion and create a flawless face.
Should I wear a primer underneath my makeup?
Primer can be a controversial topic, and even professionals are divided. Well-known makeup artists hail its effectiveness in creating a smoother surface for makeup, evening out skin texture and providing longer-lasting wear. Others insist that primer serves only a minimal purpose for the general population. Jamie Greenberg, a makeup artist who often works with the actress Rashida Jones, suggests thinking of primer as a problem solver. “If you find yourself having trouble keeping your makeup in place, and you’ve already tried different foundation formulas, you might want to try a primer,” she says. “It will make your makeup last longer, so if you have a special meeting or aren’t able to touch up during the day, it helps.” Generally, Ms. Greenberg finds that a good primer can get you “four hours where your makeup will look top-notch.” Apply it all over with a flat foundation brush. It adds a few minutes to your morning makeup routine, but it can save you time on touchups.
Product recommendation:
-
NYX Studio Perfect Primer This affordable option comes in two color-correcting options, but it’s the clear formulation that’s the all-around winner.
How do I determine which foundation is best for me?
Skin type plays a key role, but Ms. Greenberg would argue that most people already know their skin type. The issue, she says, is more nuanced. “You have to think, ‘Is your foundation compatible with your moisturizer?’ As you know, water and oil don’t mix, so if you’re using, say, an oil-based moisturizer and water-based foundation, you might have an unwanted pilling effect.” This remains true throughout the seasons, she points out, so you may want to pair a water-based foundation with a water-based moisturizer during the summer but switch to oil-based products in the winter.
Product recommendations:
-
Chanel Vitalumière Aqua Foundation A light-to-medium foundation with a featherweight feel and slightly dewy effect.
-
Huda Beauty #FauxFilter Foundation True to its full-coverage billing — it’s particularly good for covering up scars — this formula is highly pigmented with a creamy-looking, dramatic finish.
Are there tricks to blending foundation?
When it comes to makeup tools, Ms. Greenberg says a damp sponge by beautyblender wins hands down. You add foundation to the moist sponge and use stippling motions to apply it to the face. “It really helps set the foundation into the skin,” Ms. Greenberg says. “You get coverage but without looking like you have a pound of product on your face.”
Product recommendation:
-
beautyblender A teardrop-shaped sponge universally loved by makeup artists.
Why do some base products look more natural than others?
Whether or not a base looks natural hinges on texture and consistency. Generally, matte or thicker foundations will have a more artificial-looking finish. Natural skin tends to reflect a bit of light. Ms. Greenberg also finds that color plays an outsize role. “The No. 1 issue I see is that the color is off,” she says. She suggests that it might be worth it to buy two foundations, one light and one dark. Then practice mixing them and adjusting as needed. “Don’t forget that skin color can change every day depending on the season or exposure to sun,” she says. Another tip for a flawless finish: “It sounds crazy, but I have combination skin, and I’ll often use two different foundations in the same shade,” Ms. Greenberg says. “I’ll use one that is more oil-absorbing for my T-zone and one that is dewier for the rest of my face.”
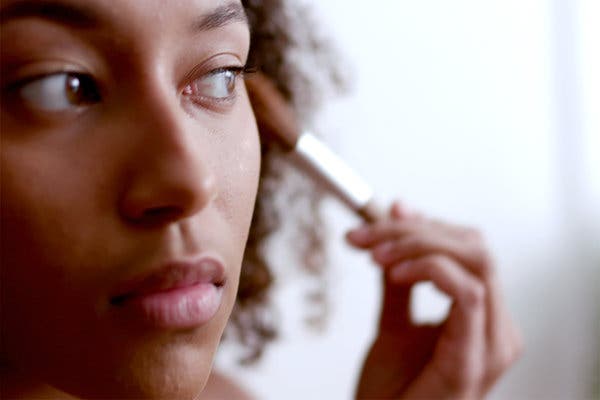
What’s the best way to apply concealer?
“For spots, I like ZO Skin Health’s Offects Correct & Conceal, which has a salicylic acid to heal at the same time,” Ms. Greenberg says, adding that concealers meant to cover blemishes need to be on the dry side to stay put. She likes to apply concealer with a Bobbi Brown Concealer Blending Brush. “When covering a zit, your product can get too concentrated and you end up with a ring around it,” she says. “This brush buffs gently so you don’t have any ‘seams.’” For undereyes, she recommends finding a concealer formula that also hydrates so it’s less likely to accentuate fine lines. “Also, don’t apply with a heavy hand,” she cautions. “If you add too much product, it can be aging as it will settle in and bring out fine lines.” Apply the concealer with your ring finger. Using the pad of the finger, gently tap it onto the affected area.
Product recommendations:
-
Kevyn Aucoin The Sensual Skin Enhancer Concealer and Foundation A magical little pot that is quite the multitasker. Use alone as a pigmented creamy concealer or mix with your moisturizer to create a sheer foundation.
-
Bobbi Brown Concealer Blending Brush The bristles of this brush have just the right degree of stiffness for applying and blending concealer.
How to Conceal a Blemish
Make your skin look flawless with this technique.
1. Choose a concealer with a slightly dry finish. One with salicylic acid or other healing properties would be ideal.
2. Dab the concealer on the blemish and use a blending brush or beautyblender to buff the edges of the concealer.
If I’m in a rush, what’s the quickest way to enhance my complexion?
Given the choice of more sleep or a more complex morning beauty regimen, sleep generally wins out. In such a case, a concealer fix is ideal. Ms. Greenberg suggests tapping on concealer where needed and blending. Otherwise, she likes a tinted moisturizer, which is fairly goofproof. “You can get away with it not being perfect because it’s sheerer,” she says.
Product recommendation:
-
IT Cosmetics Your Skin But Better CC+ Cream With SPF 50 Along with a generous dose of hyaluronic acid, this cream offers a touch more coverage than tinted moisturizers of old with a finish that brightens a bit.
Highlighting, Contouring, Blush
Accentuate your best features with a bit of shimmer, bronzer and color.
What’s the point of highlighting?
Considering that any moment could bring a photo op, it’s likely we know more about lighting today than in any previous era. Cue highlighting — that is, applying a shimmery product to bring light to the face. Like its complementary opposite, contouring (using dark shades to create definition), highlighting emphasizes bone structure. It’s also universally flattering unless your skin is on the very oily side. The makeup artist Monika Blunder, who works with the actress Amanda Seyfried and the comedian Chelsea Handler, suggests finding a finely milled highlighting powder or cream highlighter. Apply it to the top of your cheekbones and inner corners of the eye, and add a dab on the bridge of your nose. “If you’re using a powder formula, use a small fluffy brush to apply the highlighter,” she says. “Cream formulas work really well with fingertips. Just use your ring finger to dab the highlighter onto the skin.”
How do I highlight without looking greasy?
With highlighter it’s possible to have too much of a good thing. Control the “glow” by sweeping a mattifying powder over potentially problem areas of the T-zone. “By keeping the center of the forehead, the sides of the nose and the chin matte, the highlighter will really pop instead of the whole face looking greasy,” Ms. Blunder said.
Product recommendations:
-
Make Up For Ever Ultra HD Loose Powder Long wear and a soft-focus translucent finish make for a winning combination.
How to Blend Foundation and Highlight
Make your skin tone smooth, even and highlighted in just the right places with this technique.
1. Using a damp beauty blender or other teardrop-shaped sponge dapple on foundation where needed.
2. Use a stippling motion to apply the foundation all over. The idea is to add on product but also take some away to create an even, slightly transparent finish.
3. Extend the foundation down your neck so that your face matches the rest of your body.
4. Use a small fluffy brush to apply a finely milled highlighting powder to the top of your cheekbones and the inner corner of the eye.
5. Depending on your skin type, dab it on the bridge of your nose. If your skin tends to be oily, you may want to avoid applying highlighter down the nose.
6. To avoid looking greasy, use a mattifying powder on the T-zone. Dust it on the center of your forehead, the sides of your nose and your chin.
Is there an easy way to contour?
Contrary to what some Instagram accounts may tell you, contouring is a step you can fudge if you’re in a rush. Here is Ms. Blunder’s cheat: “Just use a big fluffy brush to apply bronzer to your cheekbones, temples and top of forehead. This will add dimension and is foolproof.”
With both contour and highlight, should I add cheek color?
Some women are skipping blush these days, but Ms. Blunder maintains that the category is still important. “A healthy flush of color livens up the complexion,” she says. She prefers cream formulations because they add nice texture to the skin, but, she says, “a sheer powder with a soft golden pearl can look gorgeous, too.”
Product recommendations:
-
L’Oréal Visible Lift Blush in Rose Gold This cream-to-powder blush warms the face and leaves a subtle golden glow
Eyes
With mascara, shadow and a brow pencil, make your eyes look their best.
How do I subtly define and accent my eyelids?
When choosing a daily eyeshadow, it’s best to consider the canvas you’re working on — that is, your eyelids’ skin tone. “Some people have pinkish brown lids, some have yellowish brown or peachy brown, and some people have slightly taupe-y lids,” says the makeup artist Beau Nelson, who often works with the actress Kristen Stewart and the model Ashley Graham. Mr. Nelson suggests selecting a shade that’s slightly deeper than your natural eyelid color to subtly accent your eyes. “Apply it all over your lids with a brush, extending it subtly just beyond the crease,” he says.
Product recommendation:
-
Urban Decay Eyeshadow With a variety of shades and textures, the line offers options for all skin tones. But it’s the finely milled formula and powerful pigment delivery that makes it a crowd favorite.
How to Minimize Under-Eye Circles
Look younger and more rested with this simple technique.
1. Make sure the under-eye area is well moisturized.
2. Choose a concealer with a creamy formulation. Using your ring finger, tap on concealer where needed.
3. If your dark circles are on the severe side, look for a concealer with an apricot finish.
How do I achieve a natural look when filling in my eyebrows?
Strong eyebrows have been all the rage in the last few years, but for daytime, a lighter touch may be a better way to go. Mr. Nelson advises choosing a brow powder that is a shade or two lighter than your brow color. He likes to use brow color duos like those from Anastasia Beverly Hills. He uses the lighter shade for filling in and the darker tone to “accent the tail end of the brow subtly to give it more definition.” Bonus tip: Use a precise brush to apply the powder. Mr. Nelson particularly likes the Smashbox angled brow brush for its ability to pick up and distribute powder.
Product recommendations:
-
Anastasia Brow Powder Duo This formula offers impressive long wear. Who wants her eyebrows wandering by the afternoon?
How can I do a cat-eye that’s wearable for day?
The traditional cat-eye is certainly dramatic, but don’t count out the look for day. Rather than focus on the eyeliner, though, consider using cream shadows. Choosing a neutral or bronze tone, start close to the lash line and then sweep upward toward the outer corner of the eye. Blend the cream in that direction. If you want more drama, Mr. Nelson suggests filling in the entire lid with the cream shadow, blending some shadow into the bottom lash line. Finish with black pencil in the inner rims of the eye.
Product recommendation:
-
Laura Mercier Caviar Stick Eye Colour Offering greater control than cream shadows that come in pots, this product offers intense color that stays put for several hours. For a dose of daytime shimmer, the copper shade is particularly flattering.
How to Achieve a Subtle Cat-Eye
A cat-eye that’s suitable for day.
1. Choose cream shadows in two tones of neutral or bronze, one slightly darker than the other.
2. Starting close to the lash line, sweep the lighter-colored shadow upward at the outer corner of the eye, blending the cream in that direction.
3. Fill in the rest of the lid with the same cream shadow and blend some into the bottom lash line.
4. For increased definition, apply the slightly darker shadow in the crease.
5. Set the cream shadow with a powder to prevent creasing. This step may not be necessary if using a cream-to-powder shadow.
6. Apply a black pencil to the inner rim of the eye.
How do I properly apply mascara?
“I apply mascara by wiping the very end of the tip of the mascara wand off on a paper towel so that there is no excess,” says Mr. Nelson, who uses L’Oréal’s Voluminous Carbon Black mascara for its all-around efficacy. “Then, wedging the brush into the base of the lashes, I use a subtle zigzagging motion to deposit as much color as I can, as I work through to the ends.” For a natural look, he suggests leaving the ends of the lashes almost naked so you don’t get a clumpy effect.
Product recommendations:
-
L’OréalVoluminous Carbon Black Mascara This volume-building mascara manages to beef up lashes without caking on too much product.
-
Giorgio Armani Eccentrico Mascara Another volume-focused mascara that adds visible drama to sparse lashes. The super-black color is the one to try.
Lips
Define your pout with the right lip liner, lipstick and balms.
Should I use lip liner?
Among the millennial and younger set, lip liners have transcended their supporting role and now are often the featured player. The makeup artist Nina Park, who works with the actress Zoe Kravitz and the model Bella Hadid, notes that this is not just a generational thing, but that lip liners are great for creating a more natural, lived-in look that’s ideal for daytime. “I prefer lip liners to lipstick because right now, the look is not about glossy perfect lips,” Ms. Park says. “With lip liners, you can add a good deal of color without it looking aggressive. If you think of a bright cream lipstick, it’s going to have a sheen that makes it feel in your face. Lip liners look almost like a stain.”
Is there a trick to applying lip liner to avoid a hard line?
Because lip liners come in pencil form, many people feel compelled to draw the lip outline and then fill it in. That kind of application is fine if you’re going for an Old Hollywood star look. It’s not what you want for daytime. Ms. Park suggests starting at the center of the lips: “Instead of using the liner as a pencil, I use the side. You get more coverage, and you don’t get that harsh line that looks blatantly like you used lip liner.” If the color starts to look too perfect, Ms. Park uses a Q-tip to gently diffuse the color.
How to Apply a Lived In, Natural Lip Color
Make your lips look beautifully natural with this technique.
1. Choose a lip pencil with a slightly waxy finish.
2. Starting from the center of the lips, use the side of the lip pencil to apply the color.
3. Rub in the color with your finger to smooth any lines.
4. Top with a lip gloss or balm in the center of the lips.
How do I prevent lip liner from settling into fine lines?
The key is choosing the right formula. Ms. Park prefers those with a waxy finish over a creamier one. “If your formula is too creamy, or you’re adding a lipstick, gloss or balm that is too slippery, your lip color will bleed out into your fine lines,” she says. She suggests filling in lips and then adding just a strategic dab of lip balm to the center of lips.
Product recommendation:
-
Charlotte Tilbury Lip Cheat Lip Pencil This lip pencil is practically transfer-resistant, with color that stays where it’s supposed to. The line is also noteworthy for its range of nude colors.
Lip balm is often an afterthought. How do I pick the best one to go with my lip color, and how should I apply it?
“Often I’ll see women apply color well but then add a balm on top that makes the color slide off,” Ms. Park says. She prefers balms with textures that aren’t too slippery. And apply the lip balm before you start anything else. Let the balm soak in while you complete the rest of your face, then dab off excess with a tissue before applying lip color. “You want your lip to be well conditioned but not too wet before applying color,” Ms. Park says.
Product recommendation:
-
BY Terry Baume de Rose Lip Balm A rich salve-like formula that also wields SPF 15.
How can I plump up my pout?
First, choose a nude lip pencil that looks like your actual lip color. The trick is go just slightly beyond your actual lip line. “I see girls on Instagram who actually draw on skin, and that’s just not believable in real life,” Ms. Park says. “Keep it modern by not going too crazy.” Blend out with your finger or a lip brush. Then, for extra “pop,” Ms. Park tops off the color with one of the 3D lip glosses on the market — that is, glosses that create a shimmery or reflective surface for a three-dimensional effect.
How do I keep lipstick on all day?
Many beauty tutorials cite a red-carpet trick as the key to longer wear: powdering lips between applications of layers of lip product. That’s not ideal for real life. “That method works only with full coverage matte lipsticks, and it’s also uncomfortable for day-to-day life as it’s drying,” Ms. Park says. “No one wants the feeling of dry, cracked lips.” Longevity, she maintains, is more about a choice in formula than any special trick. “A liquid lipstick is going to last the longest — even all day,” she says. “From there it’s a lip pencil and then a tint or a stain, which will last about two hours.” Use those options as your base, and you can layer as desired. “If you want to do a creamier lipstick, first line with a lip pencil,” she says. “If you want a glossier effect, start with a pencil or a stain, then do a gloss on top.”
Any Questions?
Find answers to your makeup questions.
Everyday Makeup Q&A
Do you wonder how to flawlessly apply foundation? Match mascara to your lash type? Or find just the right lipstick? Bee Shapiro, beauty reporter, answers your everyday makeup questions.
About the Author
Bee Shapiro is the author of “Skin Deep,” a collection of her columns from The New York Times, which will be published by Abrams in September.
Twitter: @BeeShapiro
This post was originally published on this site be sure to check out more of their content.


